I ❤️ Sourdough
Not realizing apparently everyone else was thinking the same thing, it occurred to me back in March that the pandemic shelter-at-home time would be a perfect time to learn about the art of making sourdough bread. I wasn’t trying to be trendy, I just am fascinated by the idea of sourdough. In a way, raising your own “yeast colony” is sort of like a vegetable garden: sure you can buy produce at the grocery store, but everyone knows those tomatoes and peppers and peaches will taste better if you buy them from a local farmer when they are fresh or if you raise them in your backyard.
My adventure into becoming a yeast farmer took a little while for my brain to properly make sense of, so now that I think I have at least the basics down, I thought I’d share what I’ve discovered, especially since I’ve discovered raising my little sourdough farm is not only relatively easy, but makes some of the most incredible pizza I’ve had. If you love St. Louis style pizza, you can use a simple sourdough pizza crust recipe I’ll include in my next post to make what I believe is a St. Louis-style pizza better than many pizzerias’ version.
(Admittedly, several months in, I’ve only made bread once, but I’ve found some other things I love that it can make and I wanted to share them here both for your enjoyment and for my safe keeping lest I lose the recipes.)
Growing Sourdough Starter
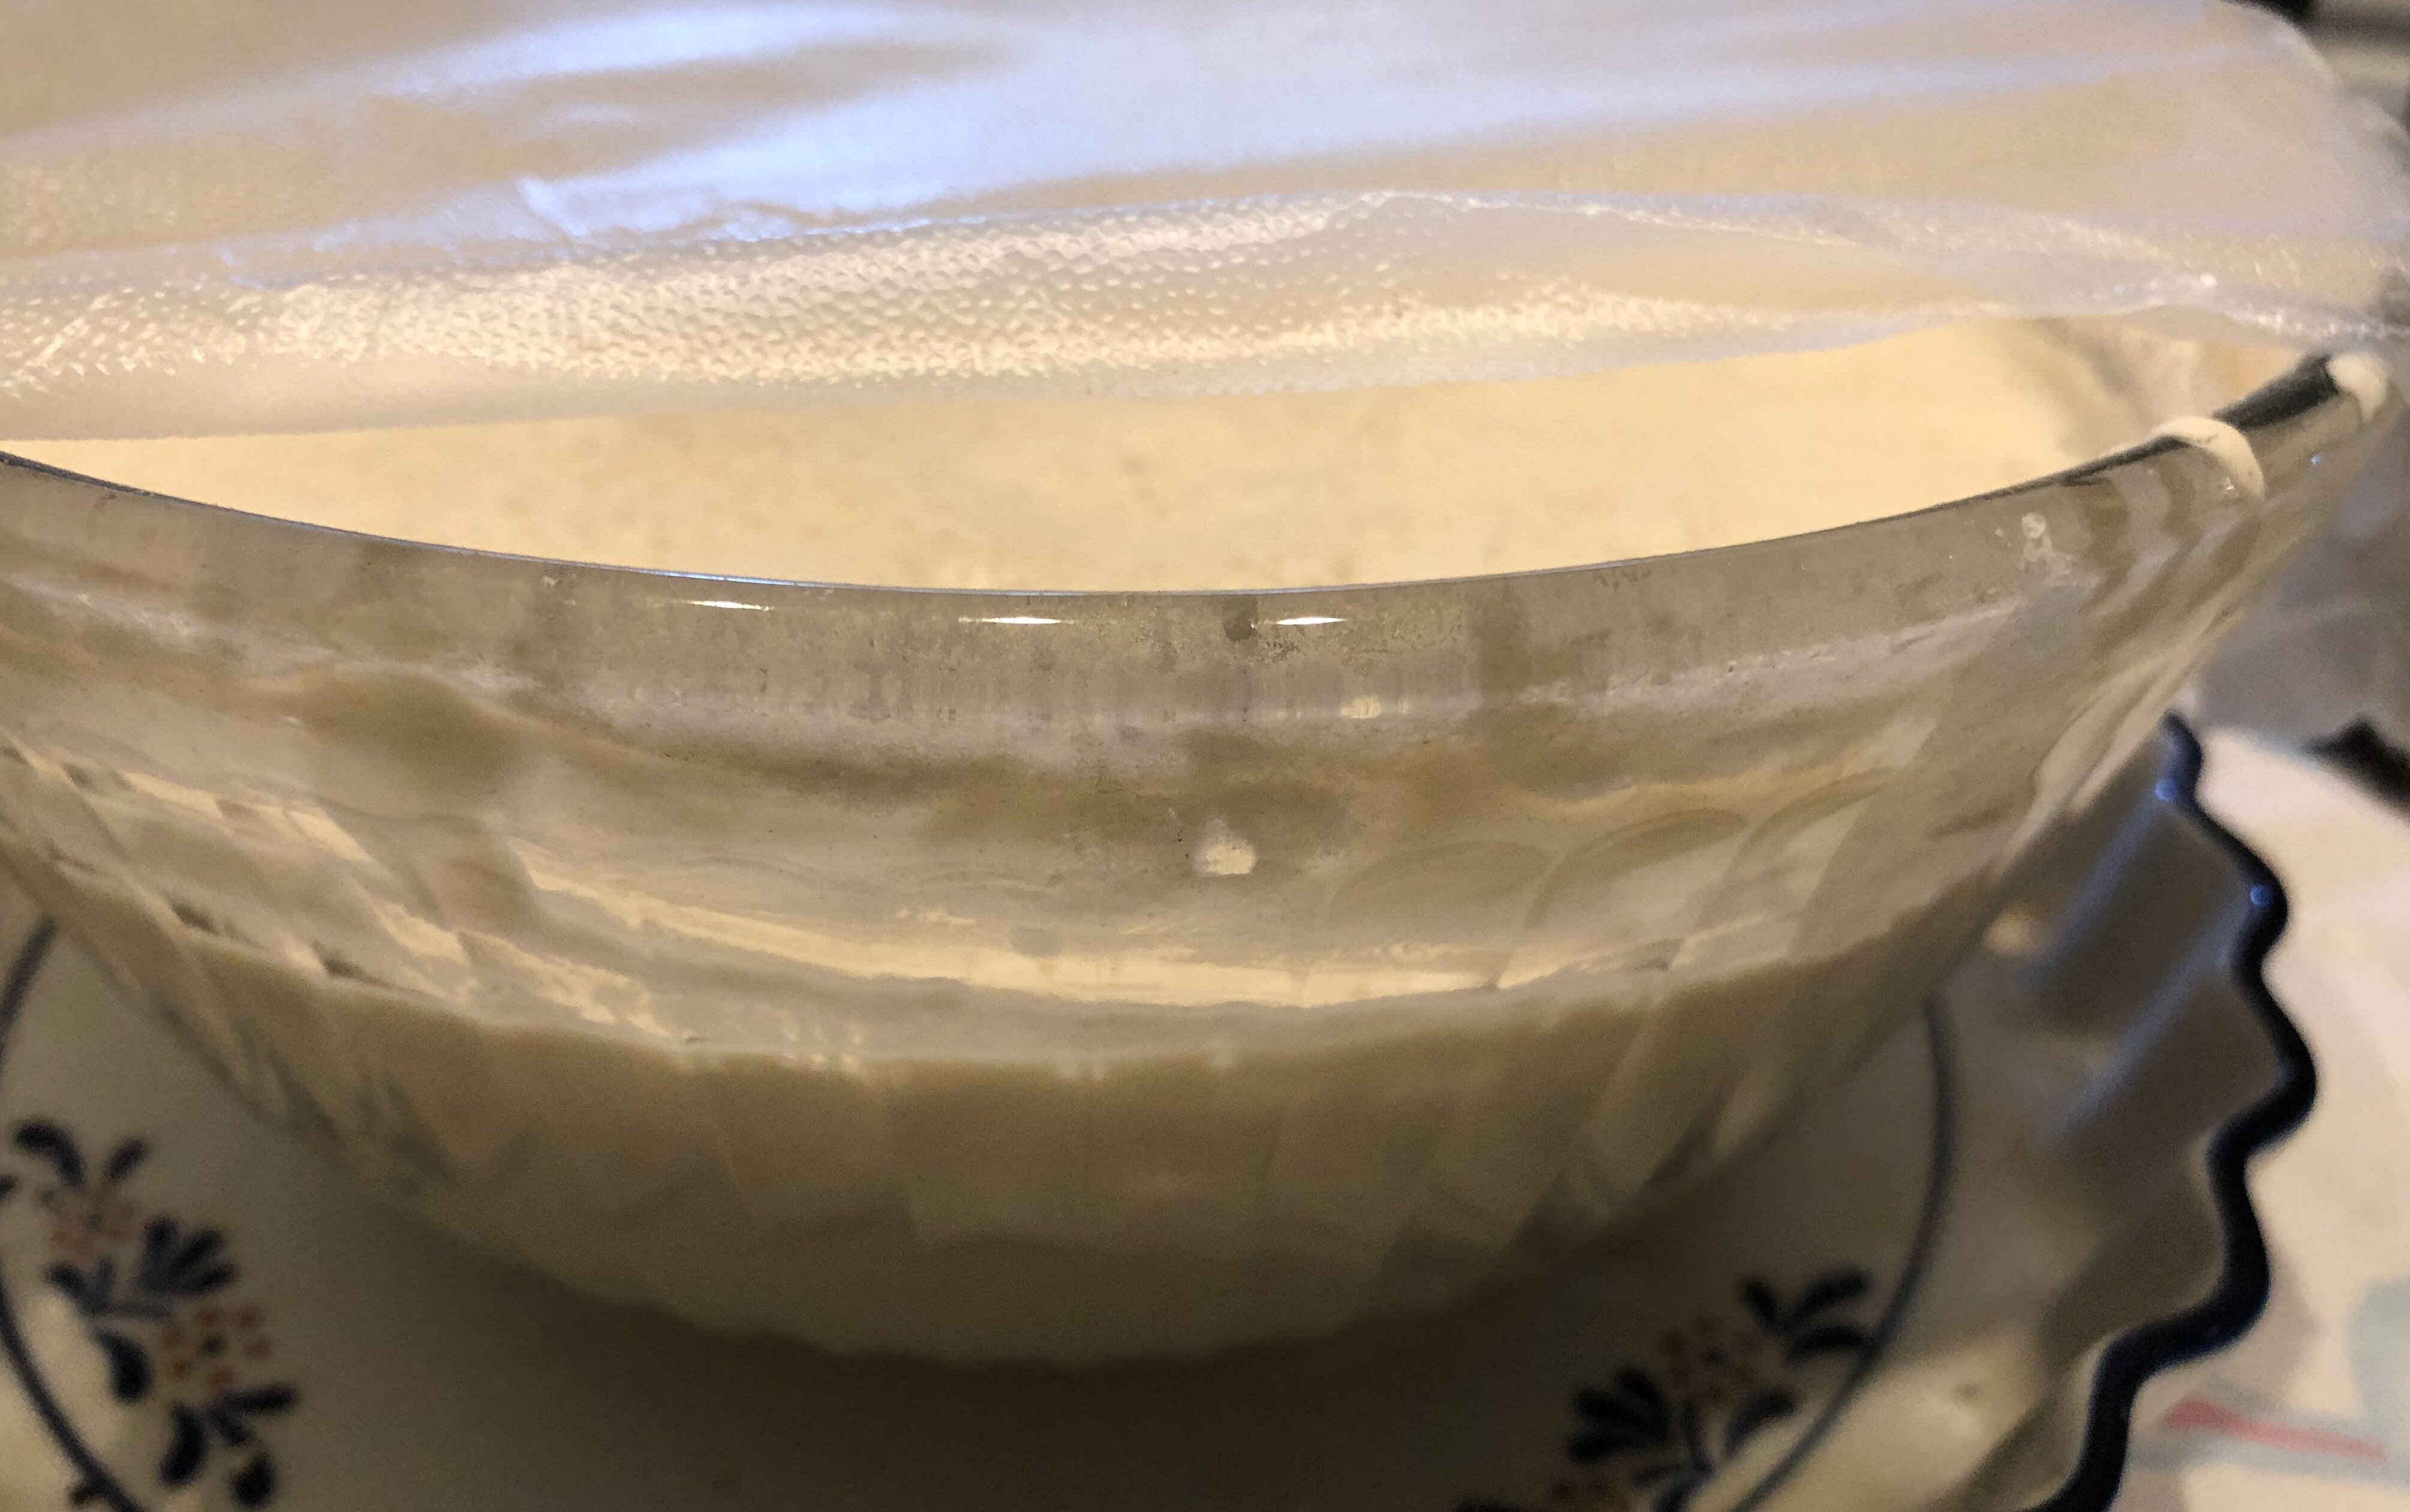
The first thing is the starter itself. I followed this set of instructions. To simplify it slightly, since I seemingly misread those instructions at first: you can get going with a starter by putting 3/4 cup plus two tablespoons of flour into a covered, room temperature bowl mixed thoroughly with 1/2 cup water. For the first few days, you’ll just keep repeating that, adding in the same, until it starts really growing (you’ll know when it is happening by how it puffs up 2 or 3 hours after feeding).
After you get it going, you start a new routine. Each day, you separate the starter in half, and repeat the feeding process for one of those halves. The other is what is known as “discard,” which can be used in many delicious sourdough discard recipes (more on that in another post soon), baked into a flat-ish bread wildlife enjoy or disposed off. The net result: after feeding your starter for the day, your newly fed starter is 50% old starter and 50% fresh flour and water. That keeps it lively and ready to bake things.
In theory, weighing the starter ingredients is supposed to yield a more accurate, better mix than using those volume measurements I’ve given above. Remember the distinction between weight and volume from elementary school? In any case, it has relevance here since the starter gets “fluffy” and when it does, its volume increases, but its weight does not. I started out using the measurements above, but switched to weighing, using an old postal scale. I weigh out about 8 oz of my existing starter each day and feeding it 4 oz (by weight, not volume) of flour and 4 oz (by weight, not volume) of water, so that the fed starter always weighs around 16 oz (a.k.a. 1 pound). It’s easy to remember what you need to do each day if you are going by weight: two parts starter to one part flour and one part water. You can make as much or as little as you want, you just have to follow that ratio with whatever amount you make.
tl;dr version: So, if you are going by volume, you want 3/4 cup plus two tablespoons of flour and 1/2 cup water in your “feed” each day added to half your starter. If you are going by weight, you want 4 oz of flour and 4 oz of water in your “feed” and you add that to 8 oz of starter. Pick one way of doing it and ignore the other type of measurement so you don’t get confused.
You can keep the discard in the refrigerator, tightly sealed, and accumulate it daily for a few days until you want to do something with it. Likewise, you can refrigerate the starter itself for up to a week to put it in hibernation when you aren’t going to be using it, so that daily feedings are not necessary. (It is amazing how quickly starter spoils if you don’t feed it daily, so either feed it or refrigerate it, leaving it out starving lets mold take over rapidly.)
A Point Where I Got Confused and Messed Up
It took me awhile to get an understanding of the differences between “fed starter” and “discard,” and my confusion messed up a few recipes. Basically, if a recipe wants “fed starter,” you want to use starter about 3 or 4 hours after you feed it. I was using starter I’d fed the day before thinking that was still “fed starter” and, well, my efforts fell flat. (Pun intended.) Any starter you use that has gone more than 12 or so hours without being fed is “discard” for all intents and purposes as far as a recipe goes.
If you have a recipe that calls for fed starter, the easiest way to have enough fed starter to use without using up your entire starter (you don’t want to do that or you will have to start growing it from scratch again!) is to feed both halves when you divide your starter for the day, rather than simply discarding half. At that point, you have two bowls of fed starter; you keep one for the future and you use one for your recipe.


Start the Conversation